
When someone gets in touch about prototyping a device, the first two questions are nearly always what it will cost and how long it will take, and the only accurate answer to either is that it depends. I appreciate that’s not much use on its own, so I thought it would be worth setting out what it actually depends on, because once you understand the drivers you can have a much more sensible conversation about budget, and you can make decisions early on that save quite a bit of time and money later. Everything below comes from prototype work we do in our own workshop near Bristol, so it reflects how these projects actually run.
Start with the question you’re trying to answer
Every prototype exists to answer a question. Does the mechanism work, does it fit the hand, will the clinician accept it, can it survive being dropped, can it be moulded. The cost of a prototype is really the cost of answering that question convincingly, and in my experience the projects that overspend are usually the ones that tried to answer every question with one build. If you’re not yet sure whether you need a quick proof of concept or a proper prototype, I’ve written about the difference in proof of concept vs prototype: which build do you actually need?, and it’s worth settling that first because the two have very different price tags.
Part count and complexity
This is the biggest single driver. A one-piece housing is a few hours of CAD and a print. A sprung mechanism with seals, a latch and a moulded grip is many hours of CAD, several parts to make, an assembly step, and a tolerance stack that has to be thought through before anything is built. Each additional part adds design and making time, and more ways for the first build to be wrong, which feeds directly into how many iterations you should plan for. My view is that part count is also the number to challenge hardest at the concept stage, since it costs nothing to remove a part before anyone has built it.
Material and process choice
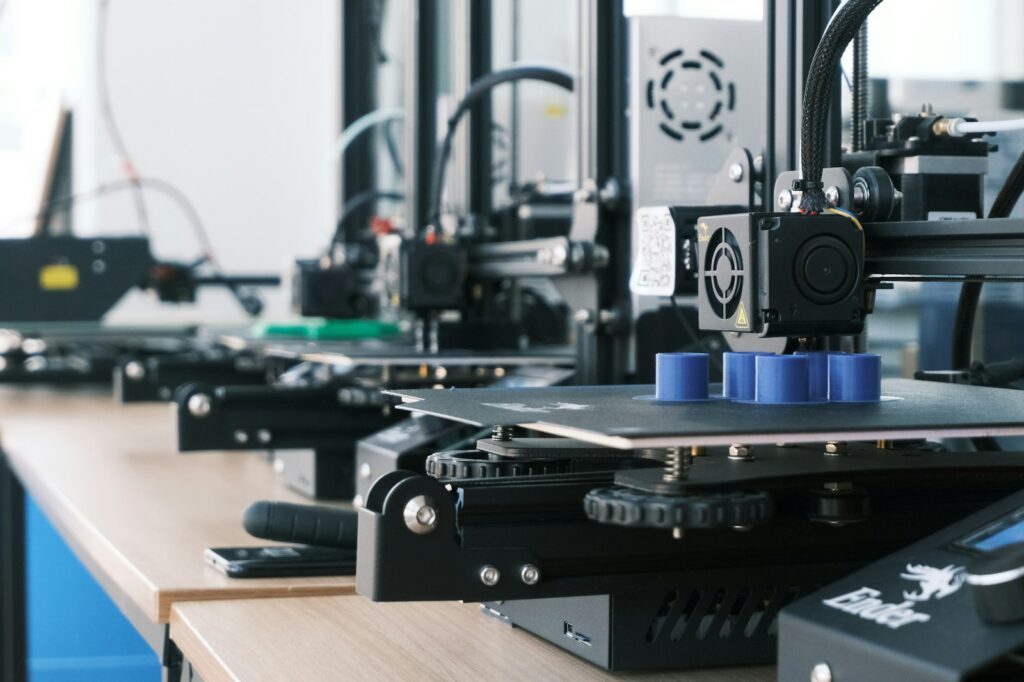
For early builds, printed parts (FDM or SLA) answer most geometry and ergonomics questions quickly and cheaply, and because we print in-house we can often turn an iteration around in a day or two. The cost of a printed iteration is mostly design time rather than material, which keeps the price of being wrong low at exactly the stage where you’re most likely to be wrong.
The step up comes when the question you’re answering involves the material itself. If you need the strength, stiffness or chemical behaviour of the real thing, you’re into machined parts in engineering plastics or metals, or short-run moulded parts, and both the cost and the lead time change. A small set of machined prototype parts is a clear step up in cost from printing, and the lead time moves from days to a few weeks. For soft parts, silicone prototyping from printed or machined tools is a route we use regularly. A short run of silicone or vacuum-cast parts means paying for the tool as well as the parts, with a lead time of a few weeks including the tool. The useful question to ask of every part is whether this build needs the right geometry or the right material, because paying for the right material before the geometry has settled is a common way to burn budget.
Tolerances and surface finish
A part that proves the mechanism can usually be fairly rough, and the price changes quite a bit once it also has to look like a finished product. Tight tolerances push you towards machining or more careful print orientation and post-processing, and cosmetic finishes (priming, painting, texturing) add labour to every single part in every single iteration. I’d say the discipline here is to tie the finish to the question, so a mechanism mule can look rough, whereas a prototype going in front of clinicians or investors probably can’t, and it’s reasonable to run both rather than gold-plating everything.
How many iterations to plan for
The first build is almost never right, and that’s fine, finding that out quickly is what the prototype is for. In my experience a sensible plan assumes two or three rounds for a fairly simple device, more if there are ergonomic or soft-material unknowns. When we worked with HelloCath on their early concept and silicone prototypes, the value came from iterating quickly on parts that were cheap to remake, and you can read how that ran in the HelloCath case study. Budgeting for one perfect build and hoping is, I’d say, the most common cost-planning mistake we see.
Tooling changes the equation
Up to this point everything is toolless, which keeps each iteration cheap. The moment you need moulded parts in production-representative material, you’re paying for a tool on top of the parts, and even soft or 3D printed tooling is a step change in cost and lead time. As such, my advice is almost always to delay tooling until the design is reasonably stable, and to treat the first tooled parts as a verification exercise rather than an iteration loop, because iterating in tooling is slow and expensive.
Test rigs and bench testing
This is the line that’s most often missing from budgets. Answering a question convincingly usually means measuring something, insertion and removal forces, actuation force, cycle life, and that often means a fixture or a bespoke rig alongside the prototype itself. We build these in the workshop and run force measurement in-house on a Mecmesin MultiTest 2.5-dV, which means a prototype can go from the printer to the test rig without leaving the building. A rig can be anything from a simple fixture to an instrumented setup, and it often costs a fair share of what the prototype itself does, which is why it belongs in the budget from the start. There’s more on how we approach these builds on our proof of concept builds page. In my experience the money spent measuring early is repaid several times over in avoided redesign later.
Documentation built alongside
If the device is heading for UKCA or CE marking, which for most of our clients is the end goal, the decisions and test results from prototyping belong in the design history that eventually feeds your technical file. Capturing them as you go takes a little discipline, and skipping it usually means paying to repeat work later that you’ve already done once. That doesn’t mean drowning early prototyping in paperwork. In practice it’s a running record of what you built and measured, and why the design changed. We ran the rugged autoinjector project this way, building the documentation alongside the design from the start, and if you want to see where it all ends up there’s a full guide to what goes in a technical file.
So what should you budget?
You’ll notice I haven’t put a price list in this post. That’s deliberate, because a headline figure that ignores everything above would do more harm than good. What I can say is that complexity, materials, finish and test requirements drive the cost, in roughly that order of influence, with tooling on top when it’s needed, and that getting from first CAD to a bench-tested prototype for a fairly simple mechanical device typically takes around a month, allowing for a couple of iteration rounds. Once we’ve talked through your particular device, putting a real number on it is usually quick.
If you’re scoping a project and want a view on what your particular question would cost to answer, I’d be happy to have a call, there’s no charge and no obligation. You can get in touch here.
Frequently asked questions
It depends mainly on part count, material and process choice, tolerances and how many iterations you need. Printed iterations are the cheapest way to learn, machined and moulded parts cost more and take longer, and test rigs and tooling sit on top. The quickest way to get a realistic figure for your own project is a short scoping conversation about what you’re trying to prove.
In-house printed iterations can turn around in days, machined or moulded parts take weeks, and getting from first CAD to a bench-tested prototype for a fairly simple device typically takes around a month, allowing for two or three iteration rounds.
Generally only for early development evidence. Formal design verification normally needs parts that are representative of the final design and process, so printed parts are best used for learning quickly, with verification done on production-representative parts later. Results from prototype testing still belong in your design history.
If you’re heading for UKCA or CE marking, yes. Recording what you built and measured, and why the design changed, feeds your technical file later and avoids repeating work, and it costs far less to capture as you go than to reconstruct afterwards.
A proof of concept shows the core idea works, usually quickly and roughly, while a prototype is closer to the real device and answers questions about fit, function and manufacture. There’s a full explanation in our proof of concept vs prototype guide.